
Step 1
Download The Jump
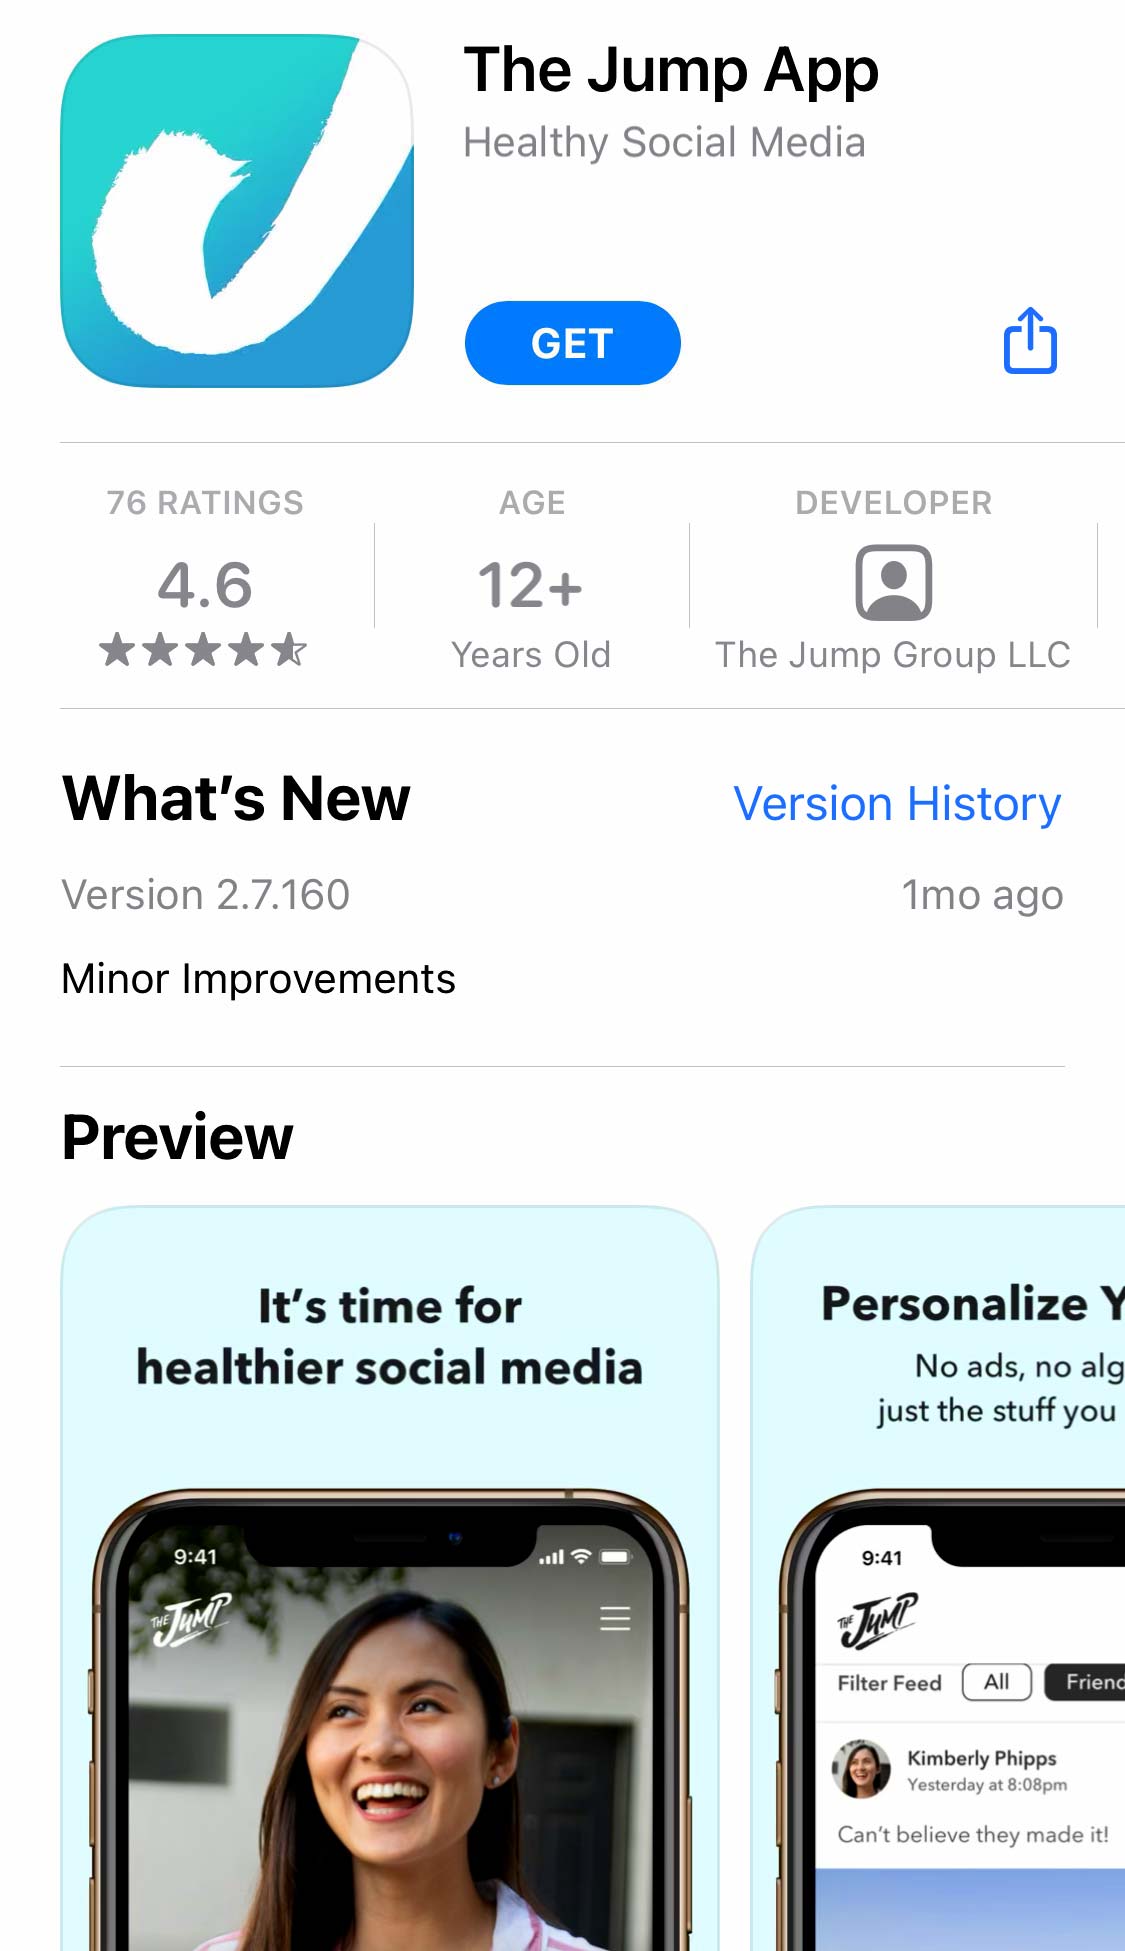
Click here to download the app. You can also find the app by searching for The Jump in the Google Play or Apple Store.
Step 2
Create Your Profile
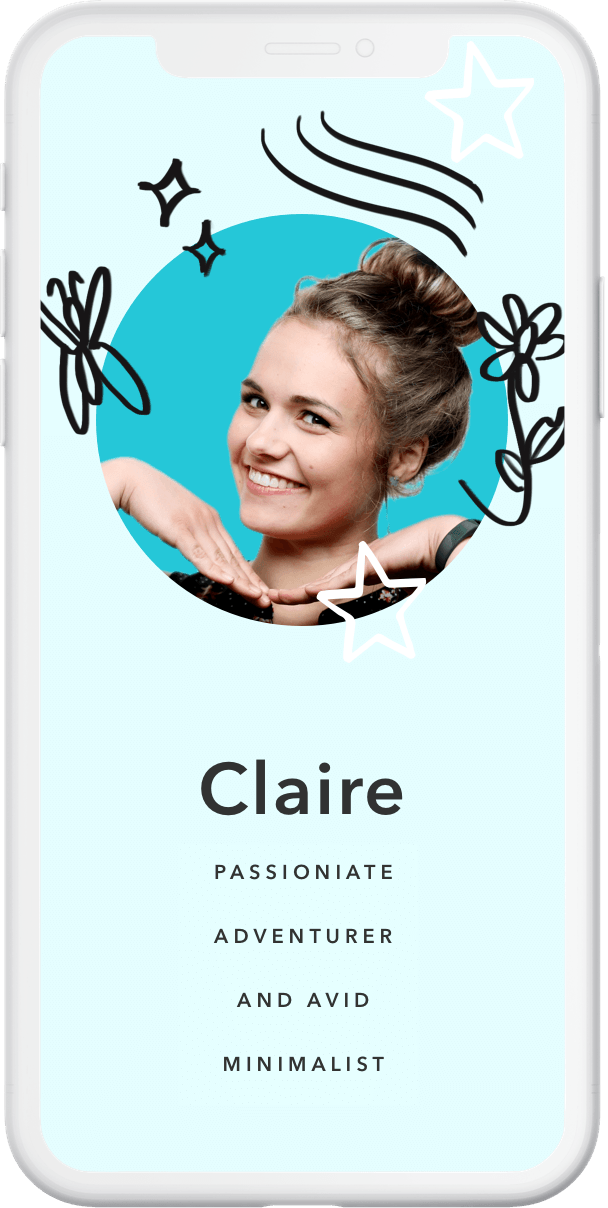
Enter your phone number or email address. We’ll text you a confirmation code. (We do this to help prevent spammers.) Next, add your name, select a photo for your Profile and set a background image. Boom, you’re done!
PRO TIP: FIND YOUR FRIENDS
Once you’ve built your Profile, we’ll ask to access your contacts, so you can quickly see who you already know on The Jump. We’ll never store your contact list info and we’ll only notify a contact, if you choose to add them as a friend.
Step 3
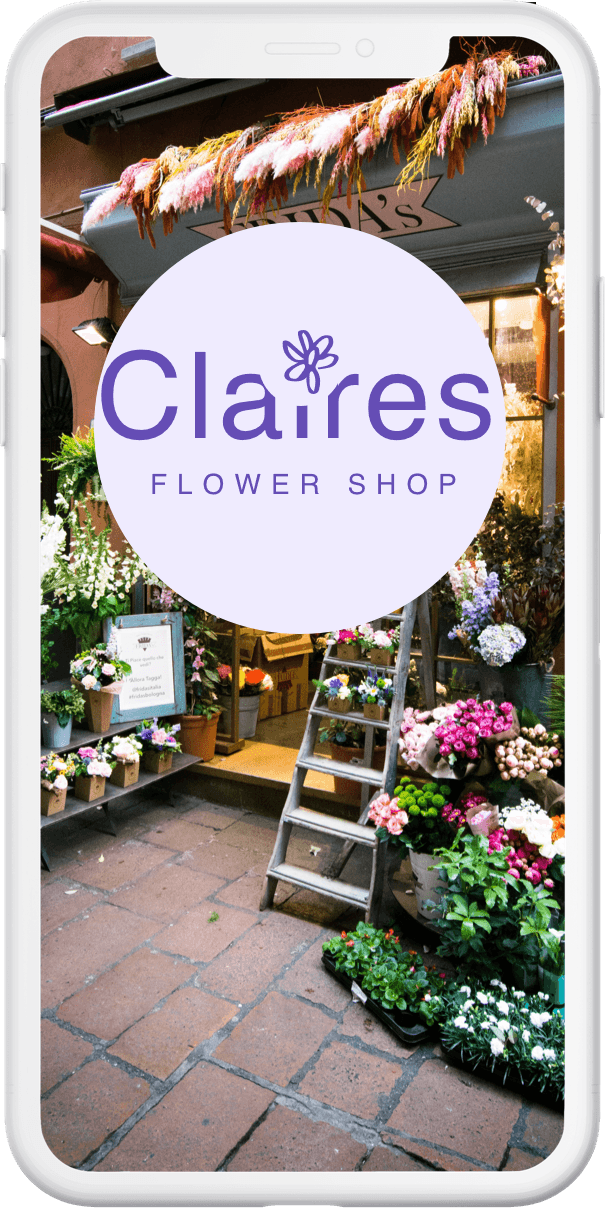
Setup Your Organization
Start by going to your Profile tab—it’s the bottom-right icon on the navigation bar. Tap the Settings cog in the top-right corner and select “Create Organization Profile.” In the future, you can switch between your Personal and Organization account by using the Settings cog on the Profile page.
PRO TIP: ADD ORGANIZATION ADMINS
Inside your Organization Profile, visit the Settings cog to add additional Profile Admins. Having more than one Admin is an easy way to share leadership responsibilities. Plus, if one Admin leaves the organization, there is still another person to keep things running smoothly.
Profile vs Organization Account
Which one should you use, when and why:
Your Profile
That’s you! Your face, your name, your personality. Most of the time, you’ll probably post from here. It helps people know who’s actually talking to them. Use this to interact with your groups and personal interests.
Your Organization
This represents your entire group. So anything posted from this account should represent the organization. Use the Organization Account to share official events, resources and announcements.
Step 4
Create Your Jumps
Jumps are what we call groups. To create a new one, tap the Home icon on the navigation bar and look for the +J in the top-right corner. Follow the prompts to create your Jump. Before finishing, be sure to set your Jump’s privacy settings:
How many Jumps you make depends on the size of your group. If you’re a soccer team with 20 players and 38 parents, create one Jump for your team. If you have a soccer club with 3,000 members in two leagues, you may want to start with one Jump for each league or multiple Jumps for each team. That’s for you to decide.
PRO TIP: WHERE TO CREATE YOUR JUMP
If you’re creating a Jump for your personal use, following the steps above to create a Jump within your personal profile. If you’re creating it on behalf of the organization, switch to the organization account first and then follow the steps above.

Step 5
Add some information
You probably wouldn’t invite company to your house, if you didn’t have furniture, would you? It’s kind of like that in your Group. Add a few posts, before other leaders join. This gives them a chance to see how they can use The Jump and to start getting comfortable on the app. Post a welcome message, add an event, maybe share a few photos from a recent get together.
PRO TIP: PINNING POSTS
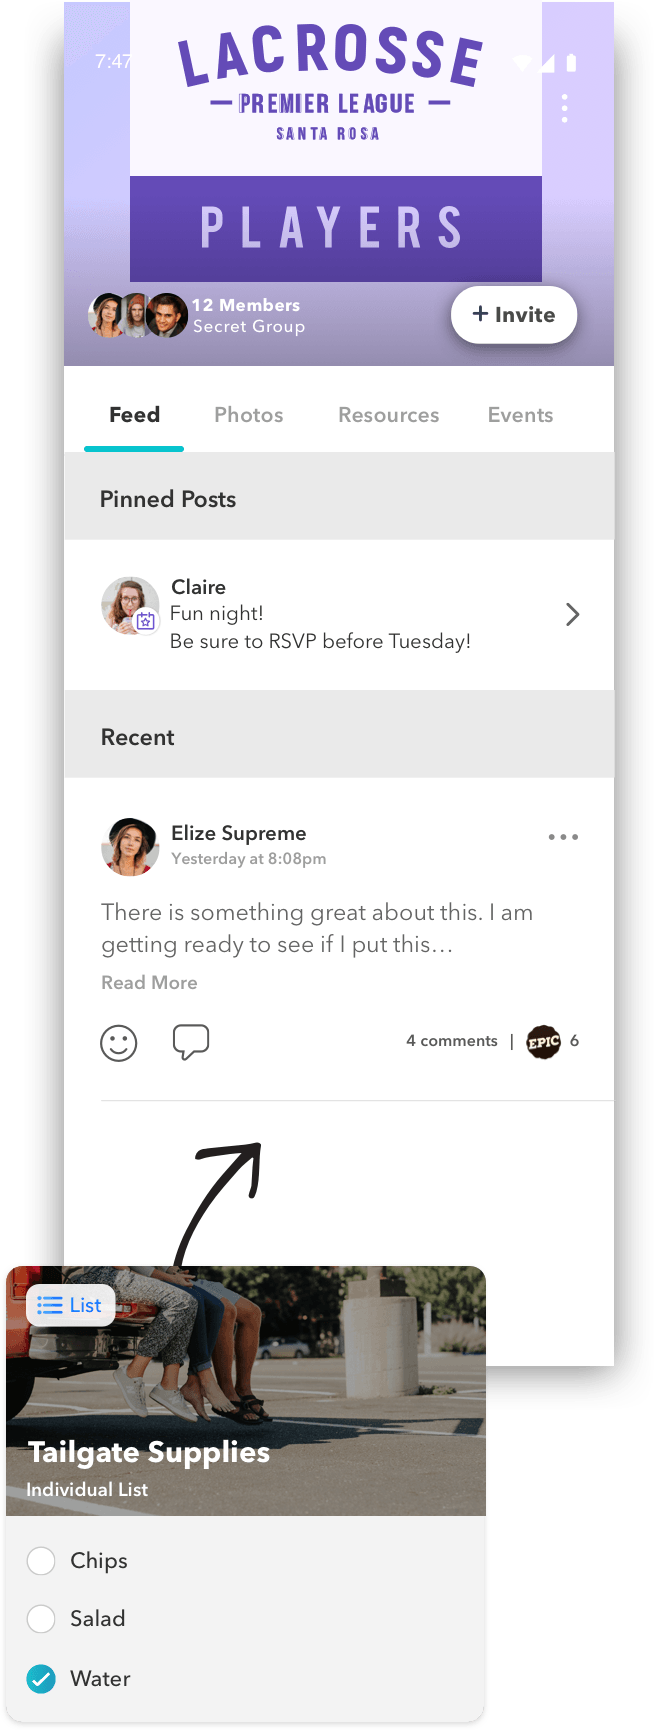
You can pin a welcome message to the top of your Group, so everyone can easily see it, when they join. Tap the three dots next to a post you want to highlight and select Pin This Post. (Follow these same steps to unpin your post later.)
Frequent Questions
What can the Host
of a Group do?
A host is the moderator of a Group. They are able to pin posts, approve requests to join, remove members and delete comments, if necessary. They can also edit the Group cover, add details and utilize the countown clock function.
How many Groups
can I create?
As many as you want! But more isn’t always better. Think about how your group communicates. If your messages usually apply to everyone, consider making a central Group for everyone to join. If messages are audience specific (i.e. parent volunteers get one message, while players receive another) it might make more sense to create specific Groups for each audience.
Can I transfer a Group I made on my personal account to the organization?
If you created a Group on your personal account, but wanted to make it an “official” organization Group, no worries! Open the Group you want to transfer, tap the three dots in the top-right corner and select Transfer Group Ownership. Select the Organization account you want to transfer it to.